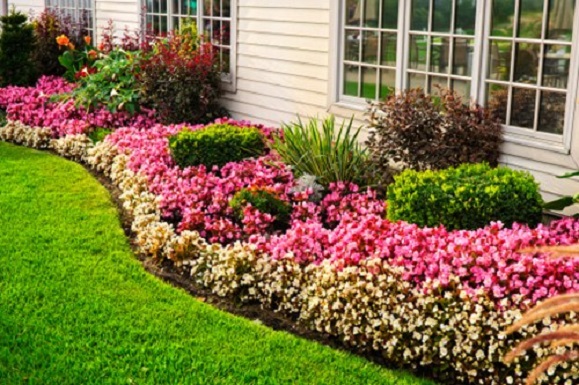
The development of a new border can take many shapes and forms. Most have the opinion that creating them can be a difficult task, but with these steps it soon will become an easy project.
Step 1 – Outline the section
Once you have decided the location of your border you mark out the outline and the size you require. The outline can be anything you wish from straight lines to curves. To get your edges straight it is recommended to stretch a string between sticks, whereas for a curve a hose or rope should be used. To mark the lines you wish to create you can either sprinkle ground white limestone, sand or even flour.
Step 2 – Shovels at the ready
Once your bed is marked out you can then start to clear the surface of plants, weeds, brush and rock and dig over the ground in which the border starts to take shape. However, very often the existing topsoil can be very disappointing with lots of clay, stone or sand; not ideal to get the best results from the flowers or shrubs you wish to plant. Our Topsoil Supreme or Beds and Borders Compost would be the answer in this situation as it will help make the soil easier to work with. This could be spread over the existing soil at a planting depth or dug in to break up the existing soil, and the nutrients from the compost will enhance the growth of new plants.
Step 3 – The final touches
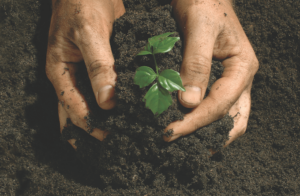
With your new bed formed now is the time for the finishing touches. It is recommended to place your plants before you put them into the ground. It might take slightly longer, but it allows you to get the spacing just right and will help you get that attractive finish. When planting it is also helpful to loosen or tease the plants’ roots before you put them in the ground, especially if they are rootbound.
Looking to build on your garden? We deliver topsoil in London, Manchester, Guildford and many other great locations. Our products are delivered to your garden ready for use! Get in touch today.


